DIY: Babywearing Sweater

As an avid babywearing mum, I appreciate a good babywearing sweater or coat. They're perfect for when the cooler weather strikes, allowing you to wear baby inside your coat where they benefit from your warmth. That said, babywearing sweaters can be expensive, come in limited prints and colours, and are not within everyone's budget.
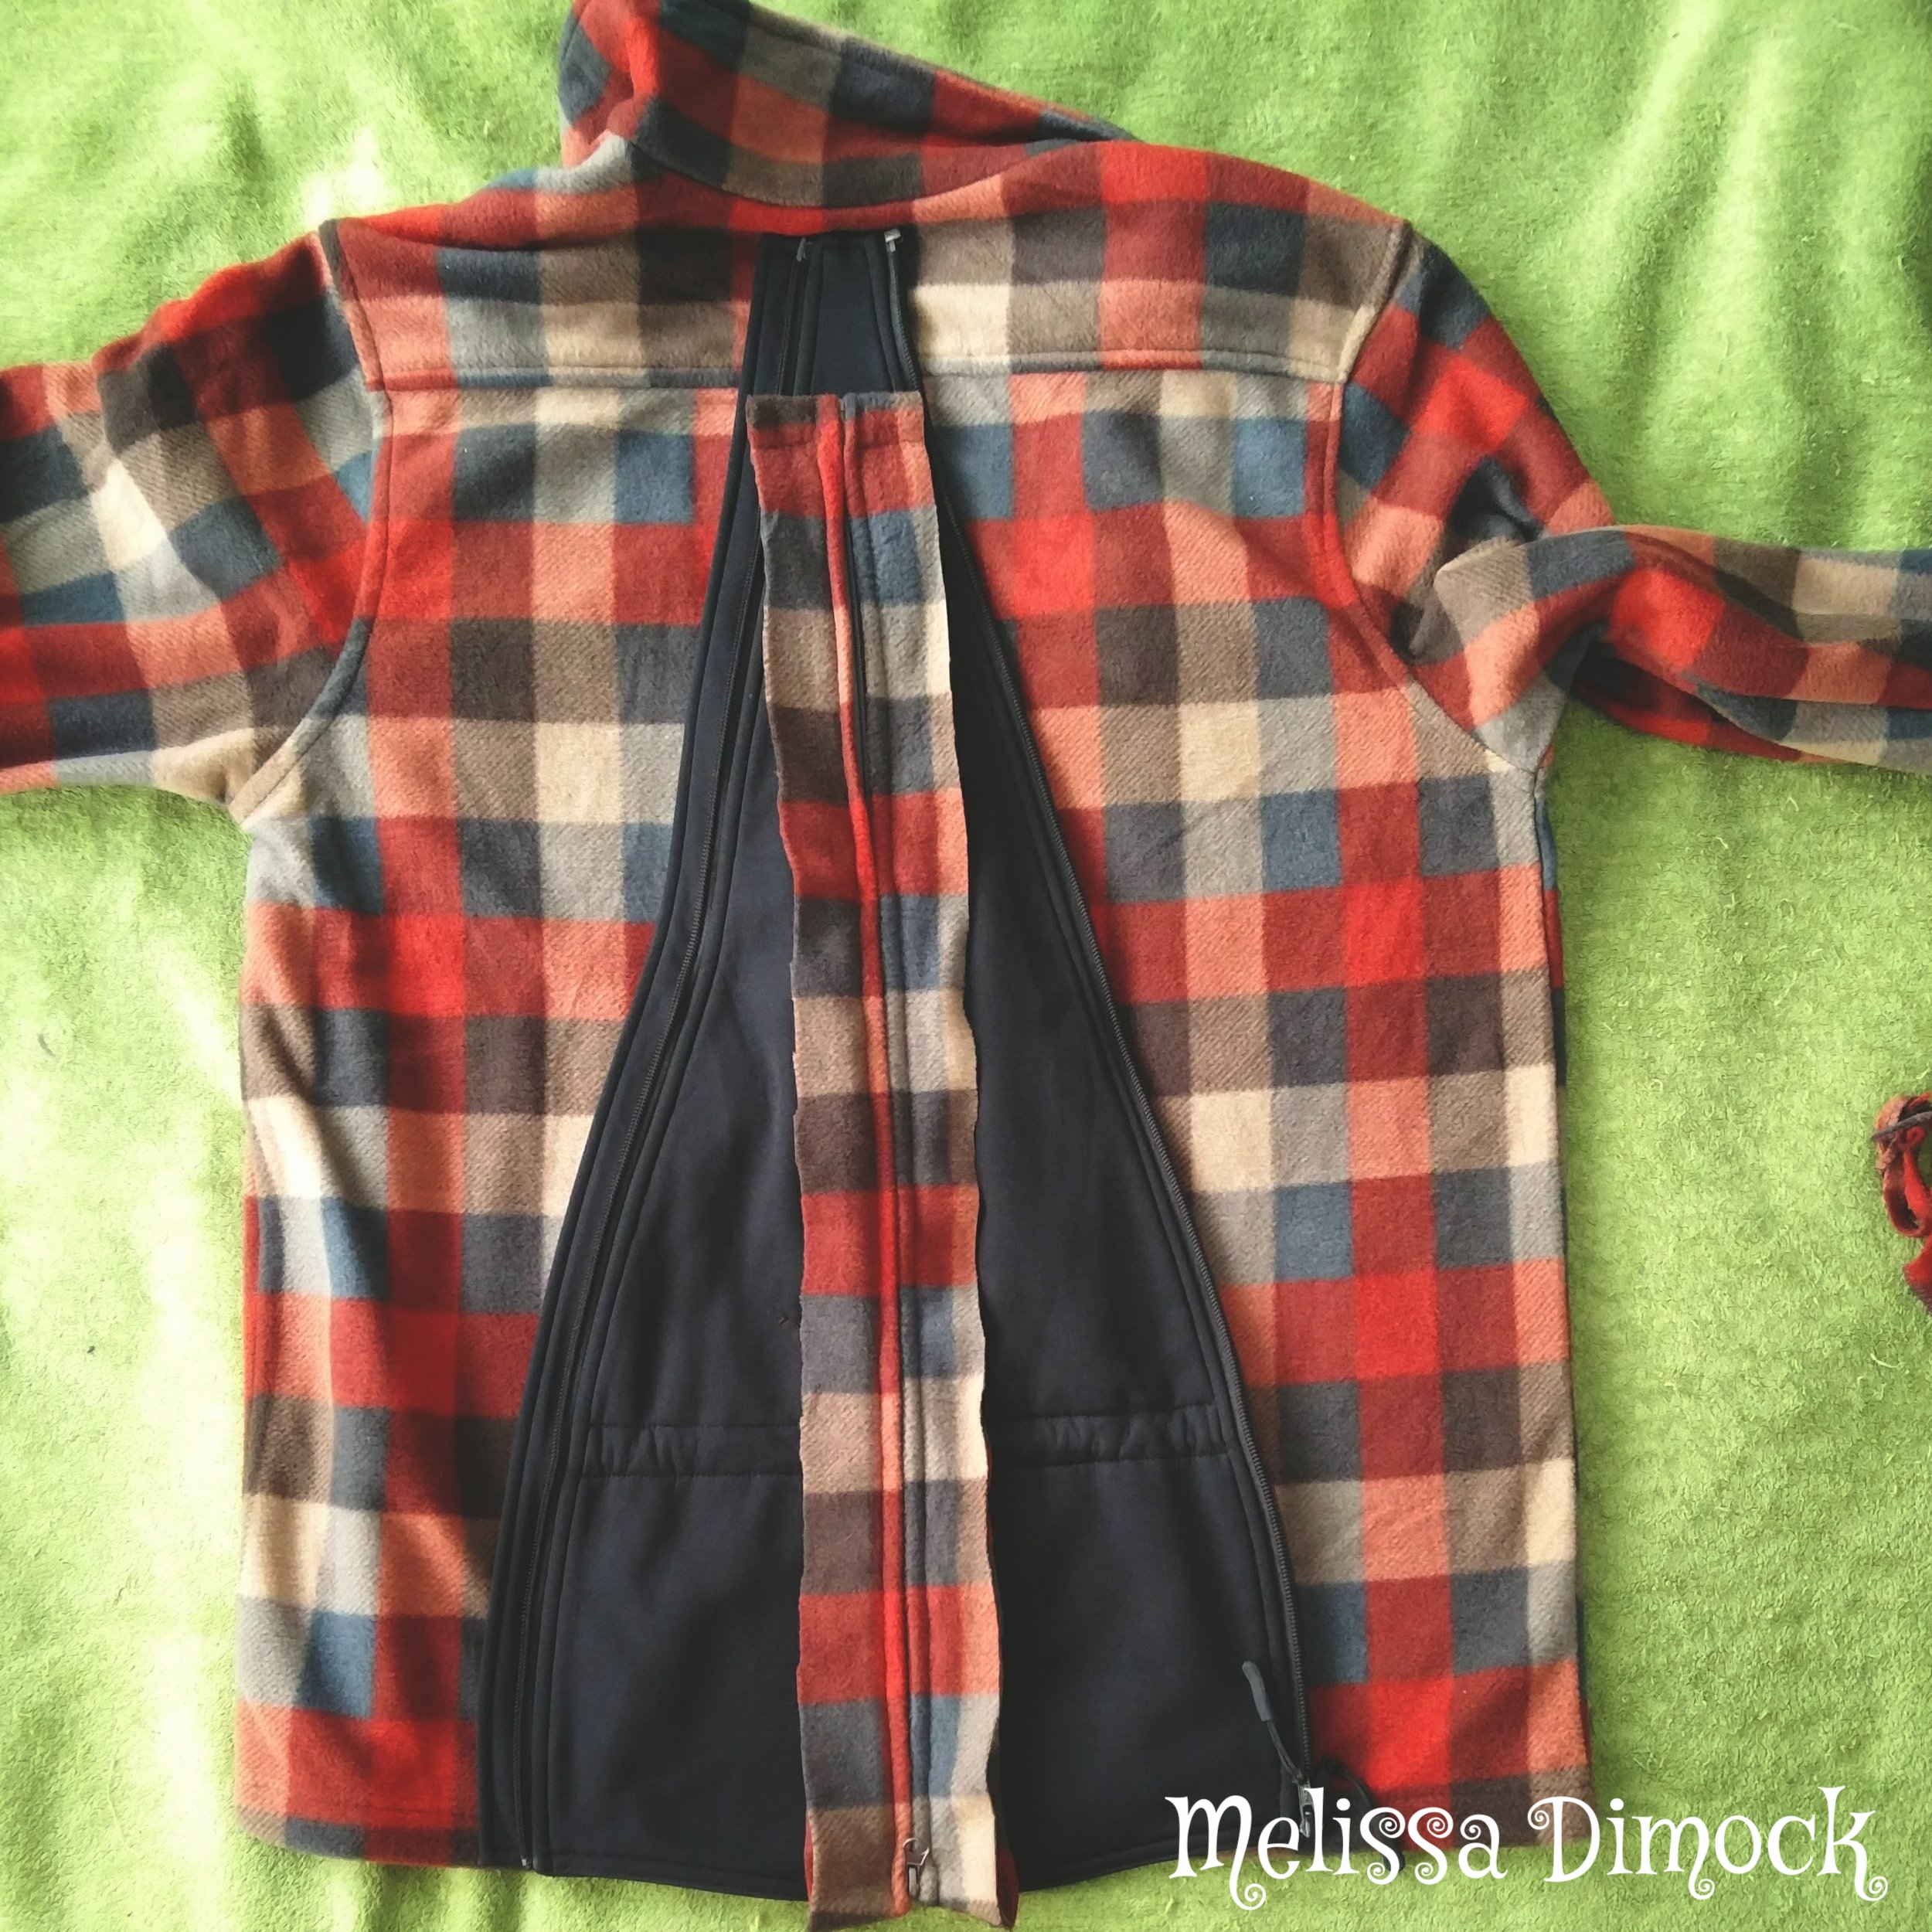
I went camping this weekend, and didn't want to risk one of my nicer babywearing jackets being damaged by fire or tree sap. It was the perfect excuse to make this simple babywearing shirt in a gorgeous Fall-inspired plaid. If you have access to a sewing machine and can cut and sew a straight line, this tutorial will show you how to make one yourself in roughly 10 minutes.

Step 1: Buy two zippered fleece jackets or shirts in the same print or colour. I bought mine for $18/ea in the Men's section at my local Giant Tiger.
IMPORTANT: Before purchasing, ensure that the two shirts can be zippered to each other or this DIY will not work.

Step 2: Set one of the shirts aside -- this shirt will be the one into which you zip your finished panel.
From the second shirt, cut out the zipper, leaving 1" - 2" of material on each side of the zipper.
Step 3: Turn the shirt over, and lay your zipper on the back. Your panel should be the same length as your zipper. I used the panel from my M-Shell as a guide, as I knew I wanted it to be wider than that. The panel I cut is approximately 17" wide at the top of the panel and 6" wide at the bottom.
IMPORTANT: Before cutting, make sure the widest part of your panel is being cut from the hemline of the shirt. This way you do not need extra length for hemming. It also leaves a pre-sewn casing, if you decide to add a drawstring at a later point.

Step 4: Unzip the zipper and pin it to your panel (right side fabric to right side fabric).
IMPORTANT: Before sewing, double check that your panel is zipping in that way that you want it to, and that you have the zippers on the correct sides of the panel.
MATERNITY HACK: Sew the panel with the widest edge at the bottom for a Spring/Fall maternity sweater. If you leave extra width when you cut out the zipper, you will be able to recut and resew the panel later to make it into a babywearing jacket.

Step 5: Sew the zipper in place. Turn up the bottom edge of the panel and hem it.

Step 6: Zip your panel in place, get outside, and enjoy the fruits of your 10 minutes of effort!